
Nice List Certificate: How to Make One From a Child’s Photo
A nice list certificate with your child’s real face on it takes one photo, a name and a short line about their year. This guide covers each step, message ideas, photo tips and what to proofread before sharing.
Updated Nov 13, 2026
In brief
A nice list certificate takes four moves in the studio: add a sharp picture of your child, select Santa Nice List, choose a design and shape, and type the name with an optional message. The effect uses one photo and always needs a name. The Two pets switch belongs to the pet effect and cannot add a second child. Images cost 5 credits (1K) or 10 credits (2K).
Recent changes
- — Guide published.
- — Added an illustrative example and a picture for each step.
- — Explained image sizes and credit costs.
One invented child, four certificate designs
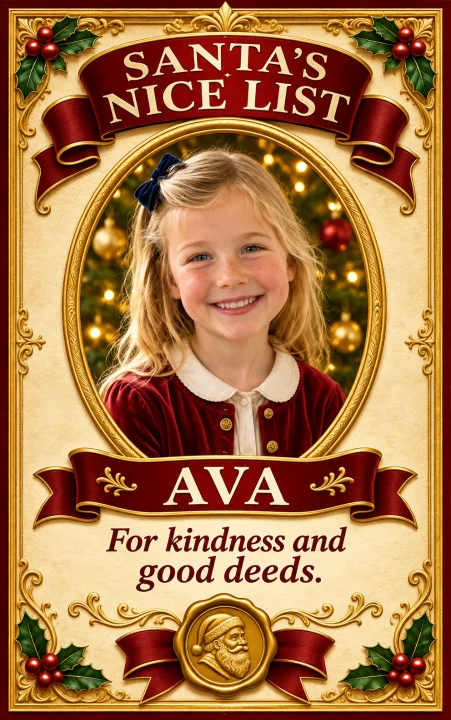
The same made-up child, AVA, and the same message appear in each design, so you can see how the frame, portrait scene and colors change. Tap a design to load it in the studio.
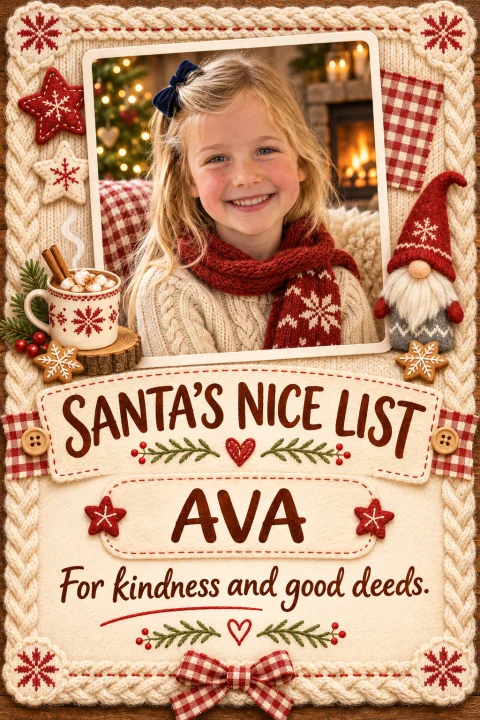
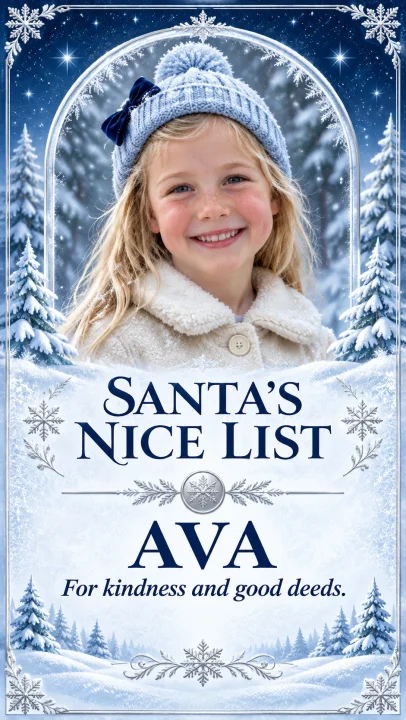
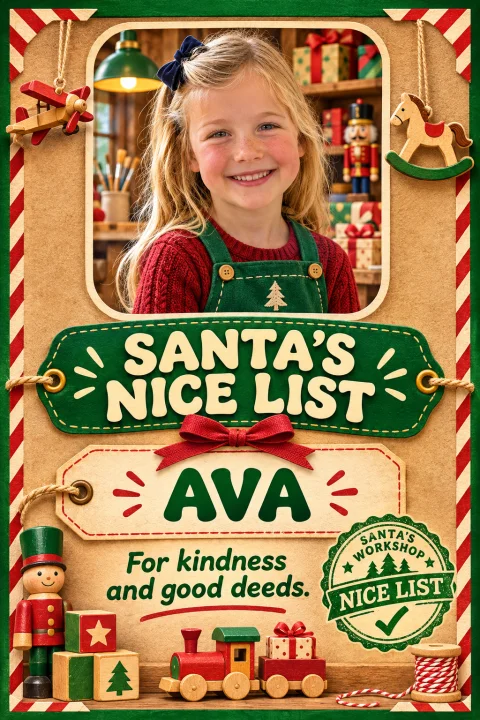
A nice list certificate is a playful document saying a child made Santa’s list, usually with a line about why. Here the AI places your child’s own portrait in the frame and their name in the lettering. No costume, studio visit or Santa photo is needed, just an everyday picture and a name.
Below is a walk through the Christmas PFP studio, followed by costs and fixes for common photo problems. The step pictures follow the current studio layout; the example near the end shows this effect.
Before you start: a sharp picture of the child, any phone or computer, and a parent’s or guardian’s go-ahead.
Step 1: Open the studio and upload the photo
Open the studio on the homepage, select Santa Nice List and tap the upload box to choose a clear photo of your child. You can also send it from your phone, drag the file in on a computer or paste it with the shortcut shown.
The certificate uses a single photo and needs the child’s name. The Two pets option belongs to Christmas pets and will not add a second child here.
The picture appears in its box after upload; remove it to try another. Open it at full size to check the face is sharp, since a small preview can look fine when the original is soft.
Tips for a good certificate:
- Pick a photo where the child looks at the camera, with nothing covering the face.
- Choose bright light and a sharp image. A normal phone snapshot works.
- Spell-check the name first. Keep the message short and specific: sharing toys, helping with the dog or learning to swim says more than a list of achievements.
- Skip filters; a clearer, natural photo gives the AI more to work with.
Step 2: Keep Santa Nice List selected
Make sure the right effect is active. Santa Nice List makes the certificate; the other effects share this studio. Look at which card is highlighted before typing, so the message does not end up in an avatar or a pet portrait.
Step 3: Pick a design and shape
Certificates default to a tall frame. Open the quality and format panel to change it. A 1K image is 5 credits and 2K is 10, with 2K preselected. Shapes available: 9:16, 1:1 and 16:9.
Step 4: Type the name and message
In the name and message box, write the name and one line, for example “Leo, for looking after his little sister”. The name is required here; the message is optional. Keep it to one idea.
Spell-check the name first. Keep the message short and specific: sharing toys, helping with the dog or learning to swim says more than a list of achievements.
Step 5: Check, then create
Before you press the create button, confirm the photo, the design and the spelling of the name. The credit cost appears under the button.
Step 6: Proofread and download
Look at the result before you download or share it. The example below is an illustration with an invented child, not a result from your photo.
Zoom in on the name, the heading and the message. Fancy lettering can look right at a glance and still hide a wrong letter, and AI lettering is not always perfect, so read it carefully.
What does a nice list certificate cost?
Each certificate is an image: 5 credits (1K) or 10 credits (2K). Credits come from one-time packs on the pricing page.
If something looks off
- The photo is blurry. Use a sharper, brighter picture where the face is larger in the frame. More words in the message will not fix a soft photo.
- The child does not look like themselves. Check the angle and whether anything covers the face. A straight-on photo keeps the likeness best.
- A letter is wrong in the name. Compare the lettering with what you typed and check the crop at full size before sharing.
- What if the job does not finish? Check the photo and settings, then try again later. Credits are not used when a job cannot start, and a failed job returns its credits.
Next ideas
- Want a holiday avatar too? Read Christmas PFP Ideas: Six Holiday Looks and How to Make Them.
- Want a holiday portrait of your pet? Read Christmas Pet Portraits for One Pet or Two: A Guide.