
Christmas PFP Ideas: Six Holiday Looks and How to Make Them
Christmas PFP ideas you can actually make from one selfie, from a simple Santa hat to an anime redraw, with a walkthrough of the studio and tips for keeping your face recognizable.
Updated Nov 13, 2026
In brief
Making a Christmas PFP takes four moves in the studio: upload one clear selfie, keep Christmas PFP selected, pick a style and shape, and add an optional detail. The effect needs only your portrait; there is no second person, pet photo or name to enter. Images cost 5 credits (1K) or 10 credits (2K). The ideas below help you choose a style before you start.
Recent changes
- — Guide published.
- — Added an illustrative example and a picture for each step.
- — Explained image sizes and credit costs.
The best Christmas PFP ideas are simple. An avatar is tiny on screen, so one clear holiday cue, such as a Santa hat, a snowy backdrop or a cartoon finish, reads better than a frame crammed with ornaments.
Below you will find the six styles in the Christmas PFP studio, what each one suits, and how to go from upload to download. The step pictures follow the current studio layout; the example at the end shows this effect.
Before you start: one clear selfie, a phone or computer, and permission for any photo you use. A parent or guardian must agree before a child’s photo is uploaded.
Step 1: Open the studio and upload a selfie
The studio sits at the top of the homepage. Keep Christmas PFP selected, tap the upload box and pick one clear selfie. You can also send the photo from your phone, drag a file in on a computer or paste it with the keyboard shortcut shown.
A Christmas PFP needs only your portrait. No second person, pet picture or name is involved, and the detail box is optional: leave it empty to get the style exactly as designed.
Your photo shows up in its box once added; remove it if you want a different one. Check that the face is sharp at full size, because a crisp thumbnail can hide a blurry original.
Photo tips worth following:
- Face the camera, or nearly, with nothing in front of the face: no hand, cap brim or phone.
- Use good light and a sharp shot. A normal phone photo is fine.
- Leave a little space above your head for a hat. Avatars are often cropped to a circle, so keep your eyes near the middle and nothing important in the corners.
- Do not rely on a beauty filter to fix a poor photo; start from a clearer, natural picture instead.
Step 2: Choose from the Christmas PFP ideas
Pick the look you want. Christmas PFP offers six styles; the other effects live in the same studio. Make sure the right card is selected before typing details, so a certificate message never lands in your avatar.
Step 3: Pick quality and shape, or keep the defaults
PFPs default to a square frame, which suits most avatar slots. Open the quality and format panel if you want to change it. A 1K image is 5 credits and 2K is 10, with 2K preselected. Shapes available: 9:16, 1:1 and 16:9.
Step 4: Add a detail
In the details box, type one short, specific line, such as “green knit scarf, soft fairy lights”. Only Santa Nice List requires a name; everywhere else an empty box keeps the style as designed. Avoid mixing several scenes in one line.
Leave a little space above your head for a hat. Avatars are often cropped to a circle, so keep your eyes near the middle and nothing important in the corners.
Step 5: Check, then create
Before you press the create button, confirm the photo, the effect and the style. The credit cost appears under the button.
Step 6: Look it over and download
Look at the result before you download or share it. The example below is an illustration with an invented model, not a result from your photo.
Check it both full-size and shrunk down to avatar size. The face should still be yours, the hat should not cover your eyes, and the light should not change your expression into someone else’s.
The six styles at a glance
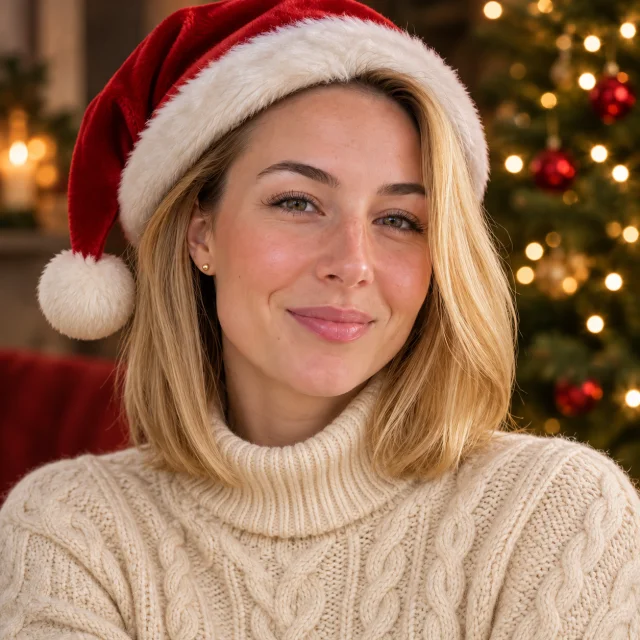
Six Christmas PFP ideas, one illustrative model: Santa hat, Anime, Cozy aesthetic, 3D cartoon, Winter wonderland and Santa’s sleigh. Every example below starts from the same invented woman’s photo.
- Before · upload
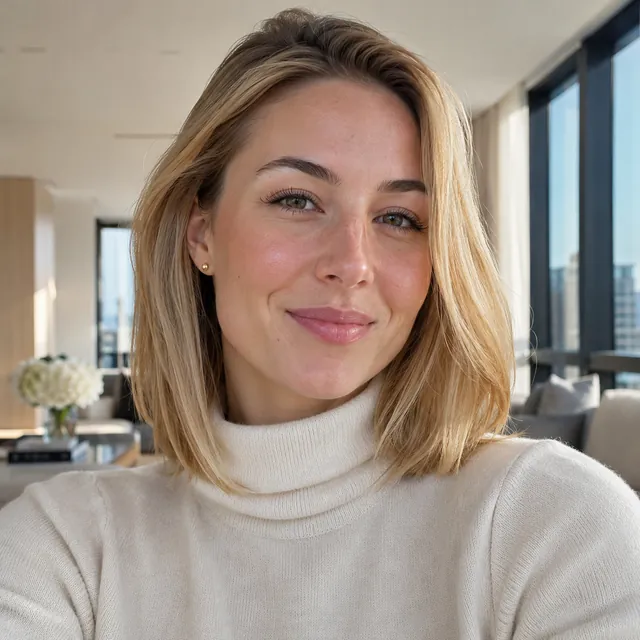 After · illustration
Santa hatOne invented model, six holiday styles - Before · uploadAfter · illustration
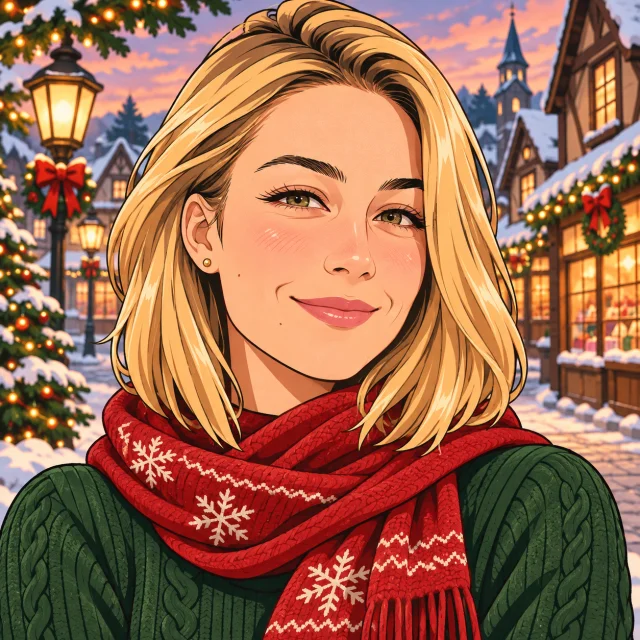
AnimeOne invented model, six holiday styles - Before · uploadAfter · illustration

Cozy aestheticOne invented model, six holiday styles - Before · uploadAfter · illustration
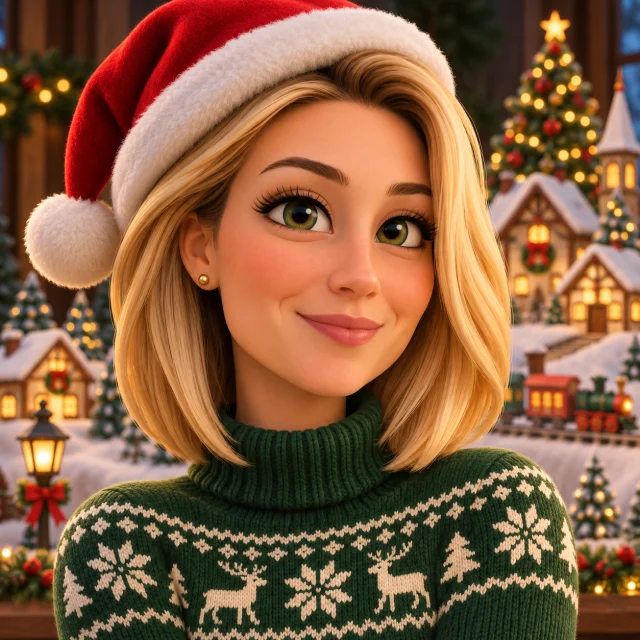
3D cartoonOne invented model, six holiday styles - Before · uploadAfter · illustration
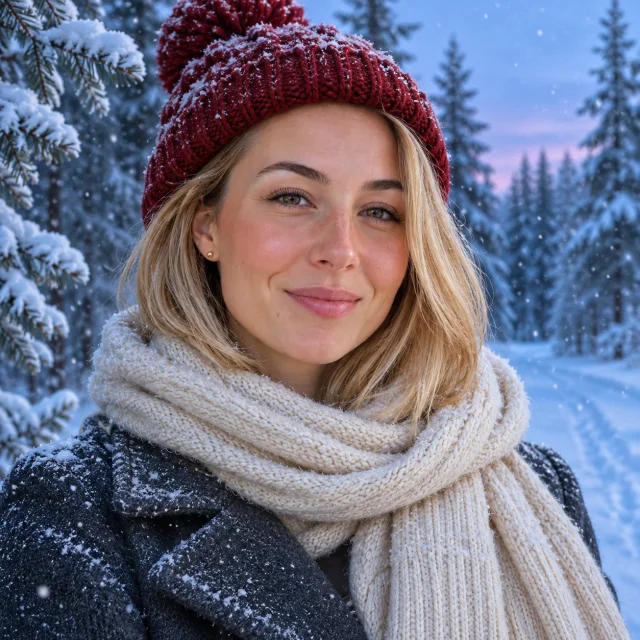
Winter wonderlandOne invented model, six holiday styles - Before · uploadAfter · illustration
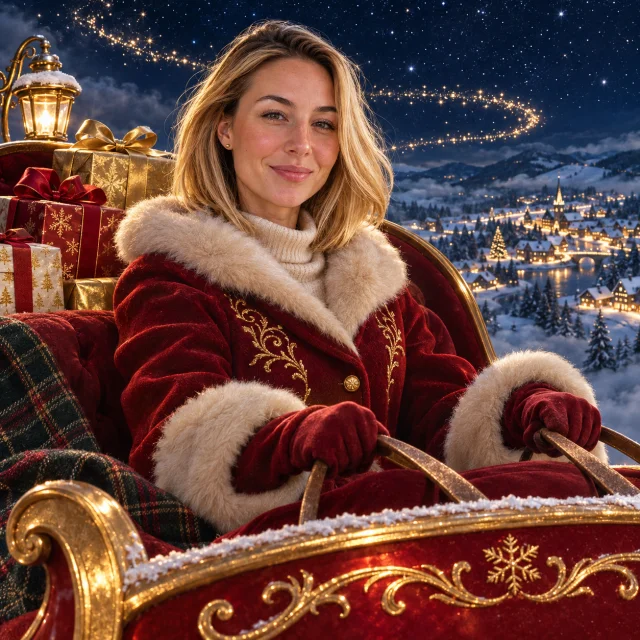
Santa’s sleighOne invented model, six holiday styles
What does a Christmas PFP cost?
Each image is 5 credits (1K) or 10 credits (2K). Credits come from one-time packs, listed on the pricing page.
If something looks off
- The photo is too soft. Swap in a sharper, brighter picture where the face fills more of the frame; extra words in the detail box will not fix blur.
- It does not look like me. Check the angle and anything covering your face. A straight-on photo usually holds the likeness best.
- A detail came out wrong. Compare the face, any text and the crop with your original at full size before sharing.
- What if the job does not finish? Check your photo and settings and try again later. Credits are not used when a job cannot start, and a failed job returns its credits.
Next ideas
- Making a certificate for a child? Read Nice List Certificate: How to Make One From a Child’s Photo.
- Want a holiday portrait of your pet? Read Christmas Pet Portraits for One Pet or Two: A Guide.